Various Gaming Software Applications are presented here in this post which together makes your Gaming Experience much easier and better. All the Hardware and Software Tools on your Windows Gaming Computer provide you faster Gaming Experience, but Human Input is something you need to provide. In order to use your Gaming Computer to the fullest, you need to make sure that you are using it efficiently and in the best possible way. This post provides a list of Gaming Software Application which help you play Games of all kinds.
Gaming Software for Windows
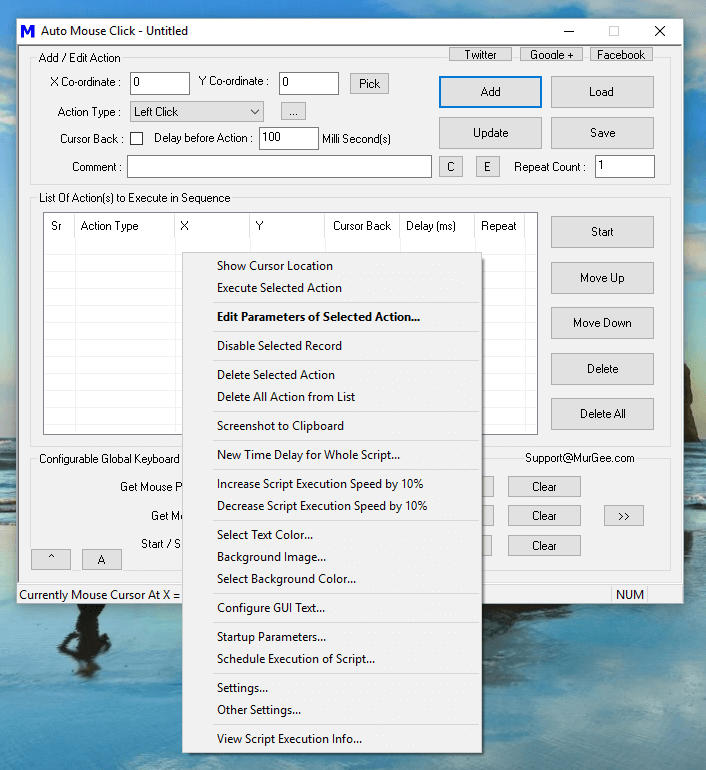
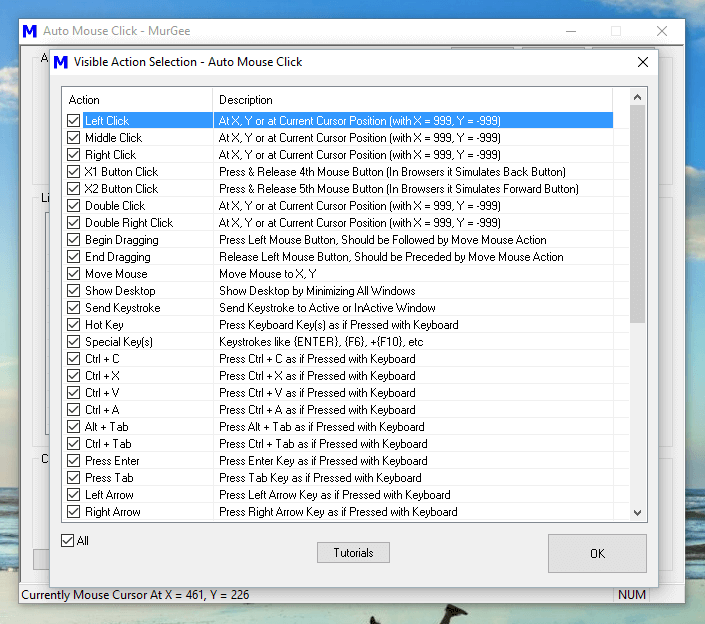
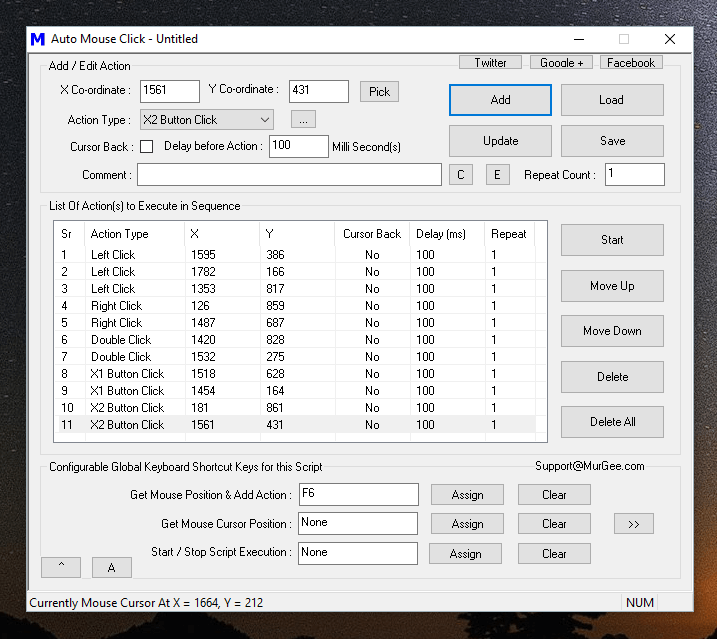
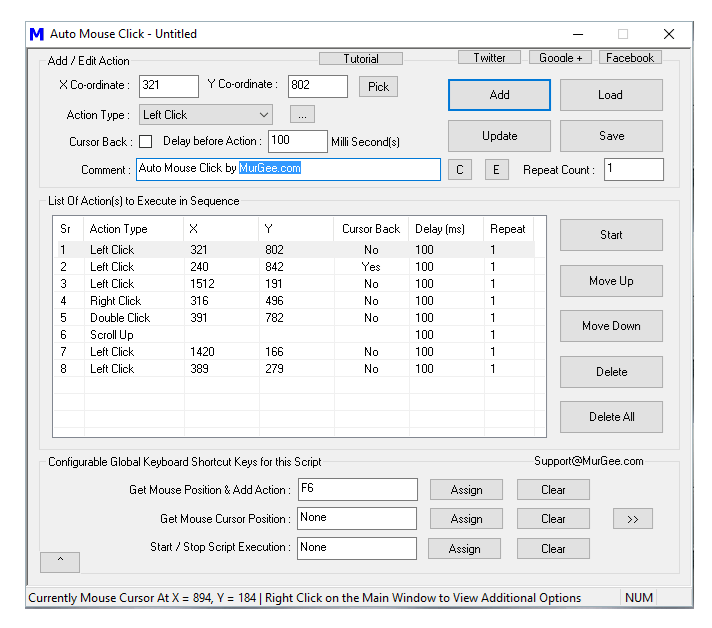
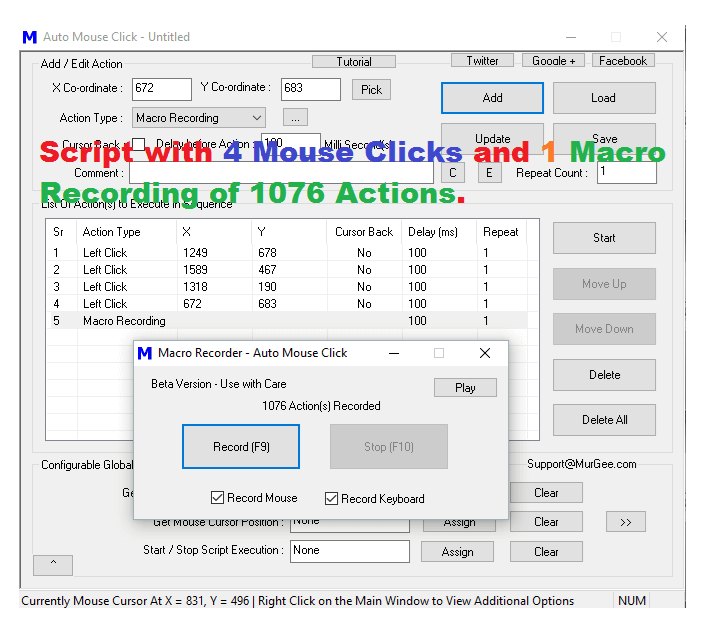
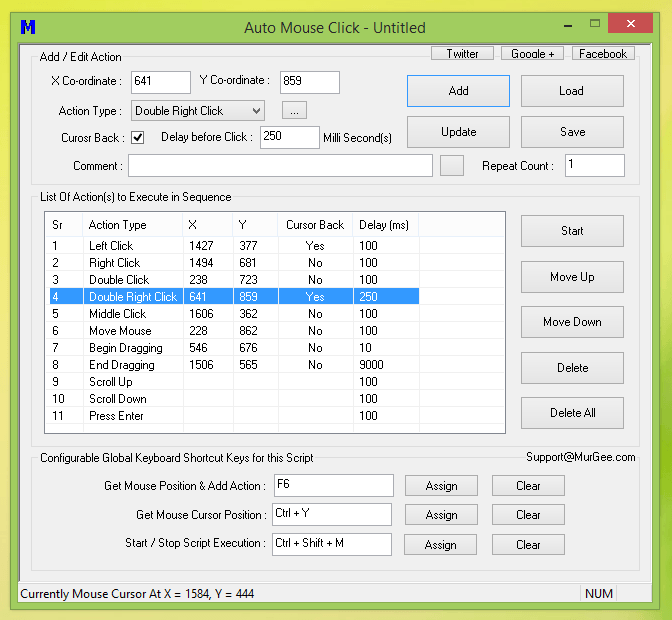
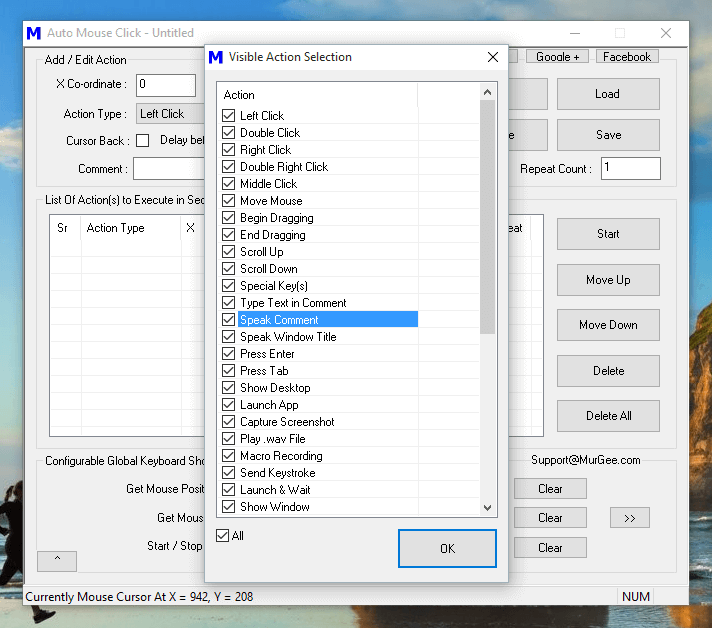
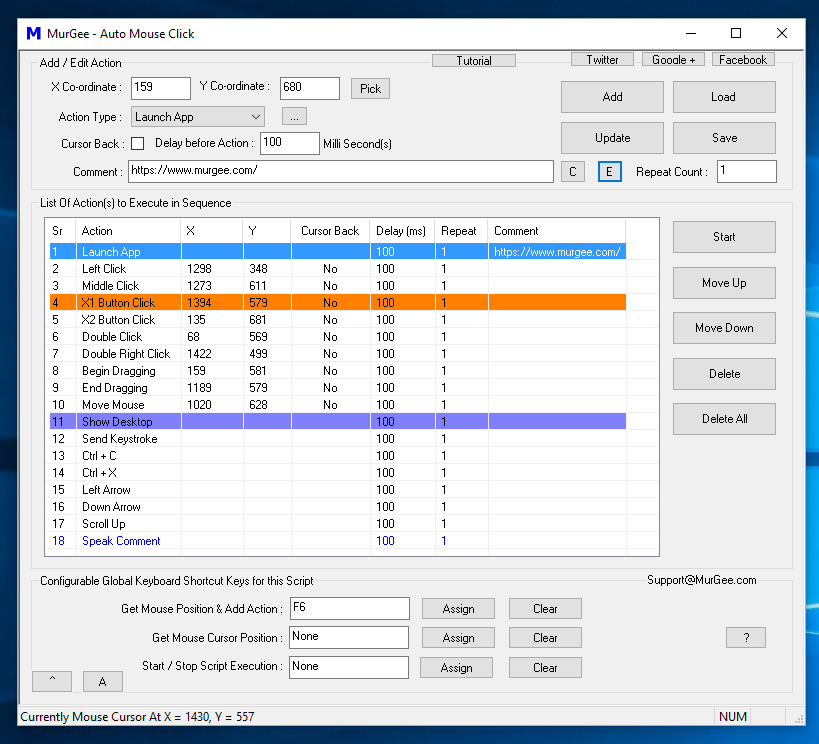
Human Input to a Computer like Mouse Clicking, Key Pressing, etc does not depends on the speed of your Windows Computer. Whether you are using latest Computer with latest Intel Processor and Graphics Card, Human Input (like Clicking Mouse Button, Pressing Keystrokes, etc) to your Computer can be made faster with the help of Gaming Software Tools. One of such Gaming Software Application is displayed in the Screenshot above. The Software Application displayed above allows you to create a Mouse Clicking Script with which you can Automate or Speed Up Mouse Clicking at pre-defined Screen Locations or even at current Mouse Cursor Location. Apart from Automated Mouse Clicking, the above mentioned Software can press Keystrokes, allow you to do Mouse Clicking with Random Time Delay and much more.
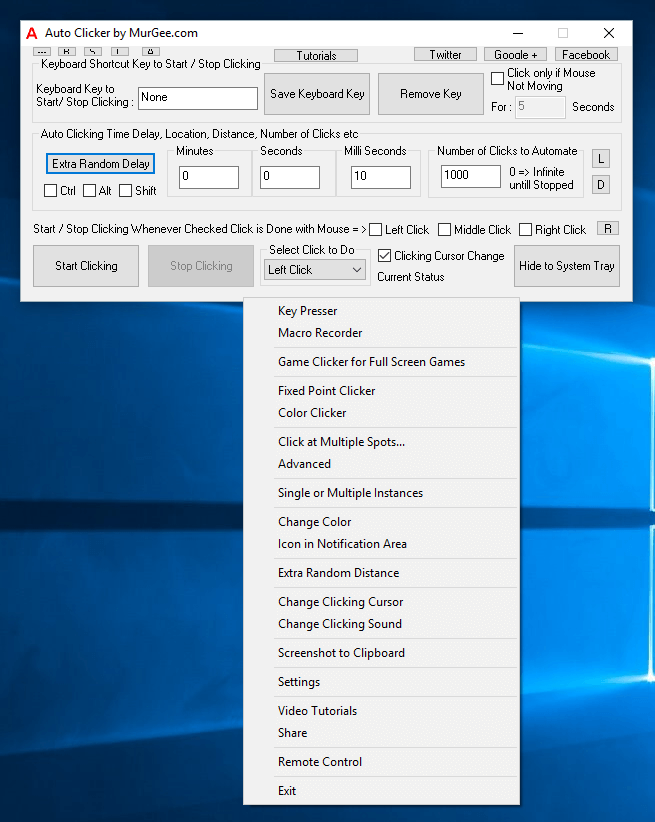
Best Auto Clicker for Gaming
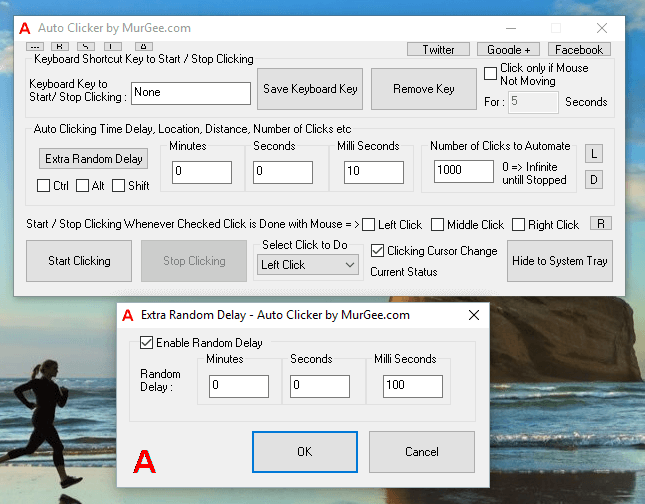
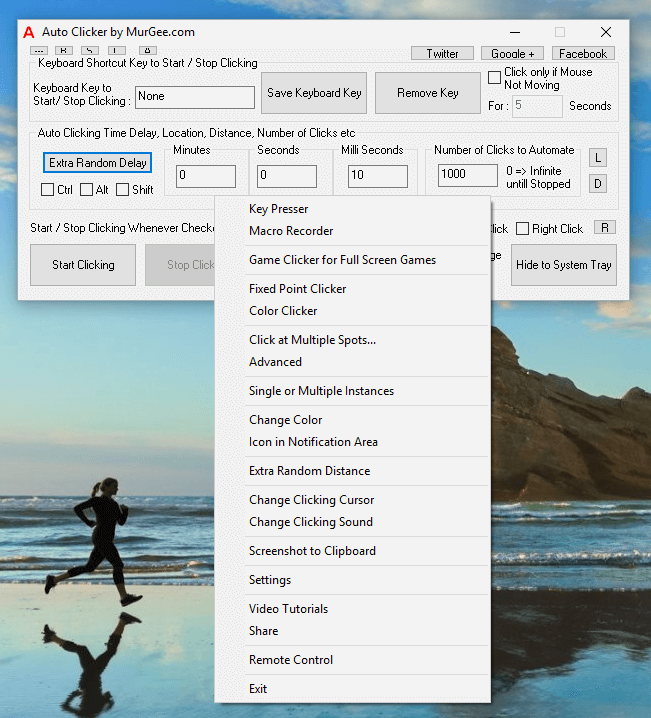
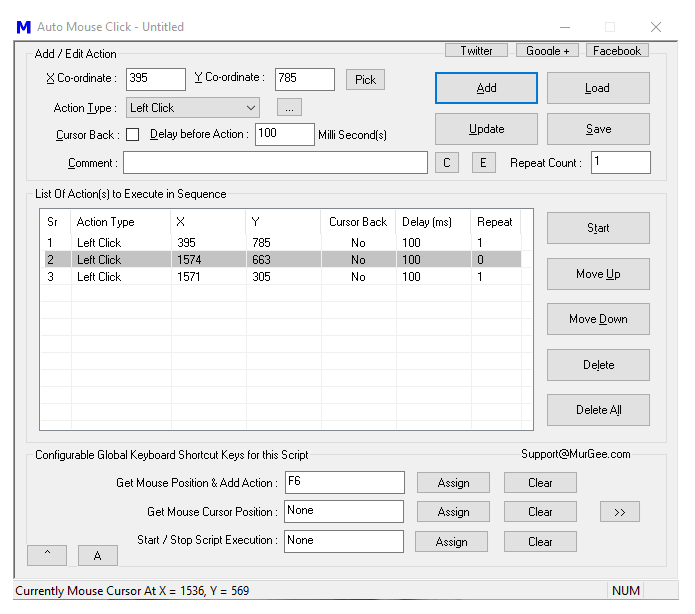
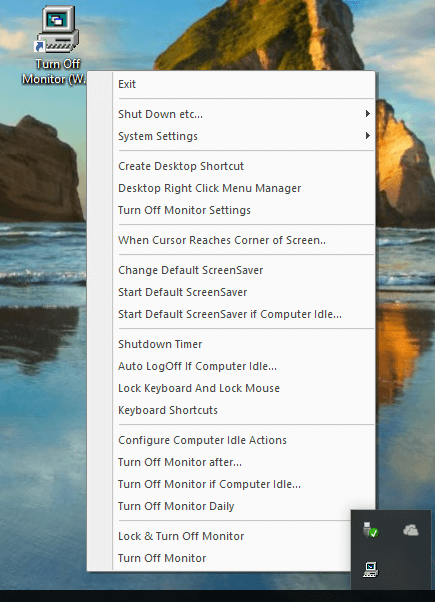
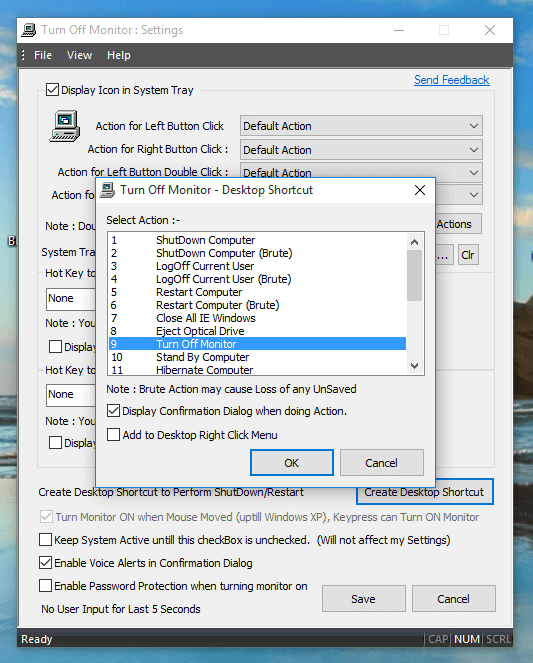
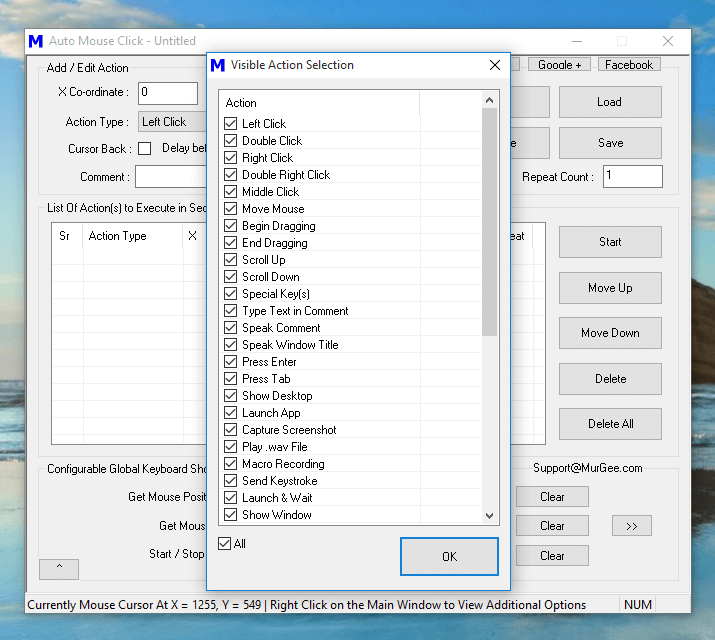
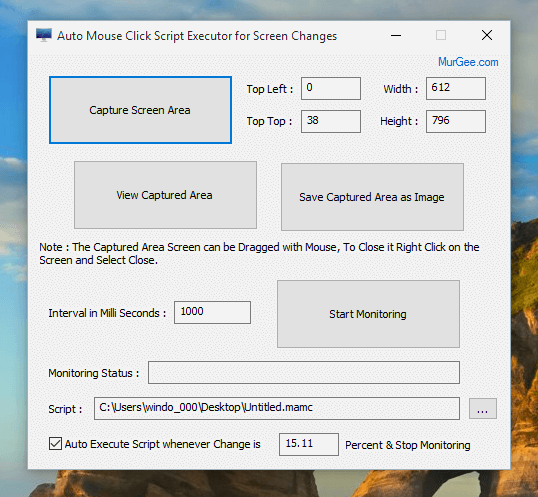
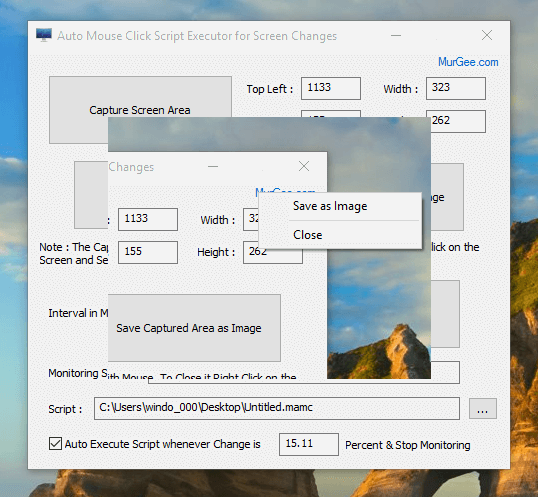
When you simply need to click faster in a Game, you can use the above displayed Software Application which has been designed specifically for Gaming. The Auto Clicker as displayed in the above Screenshot allows you to Automate Mouse Clicking. Controlling of Automated and Fast Mouse Clicking is supported with Physical Mouse Clicking and Keyboard Shortcuts. Yes it has got an inbuilt Key Presser, Advanced Auto Clicker, Fixed Screen Location and much more making it really the Best Auto Clicker for Games. Yes you can download and try it for free on your Windows Computers and lots of Gamers around the world are already using it as a helping hand for playing Full Screen and Browser based Games.
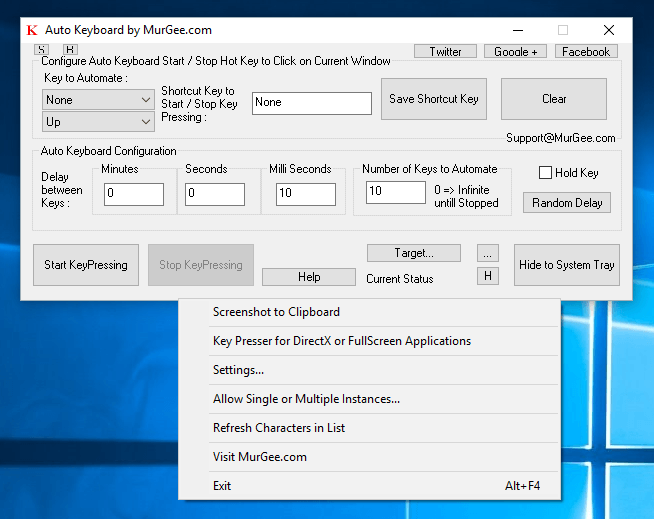
Auto Key Preser for Games
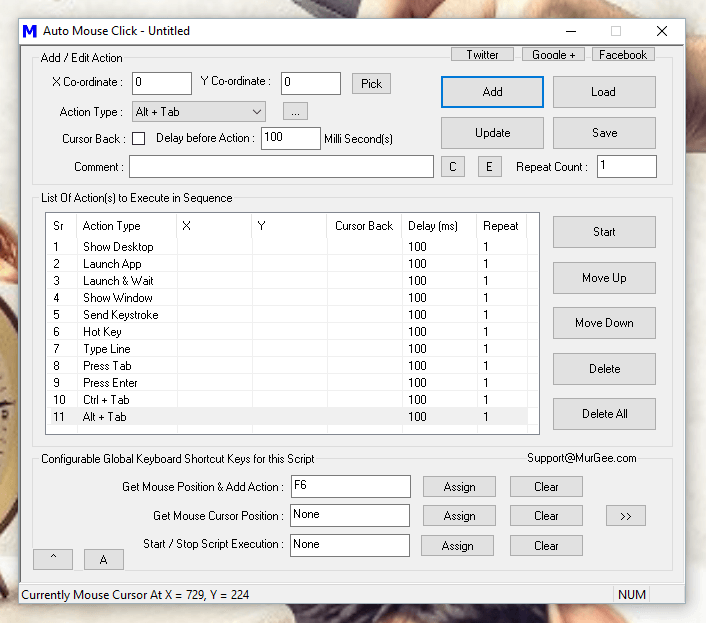
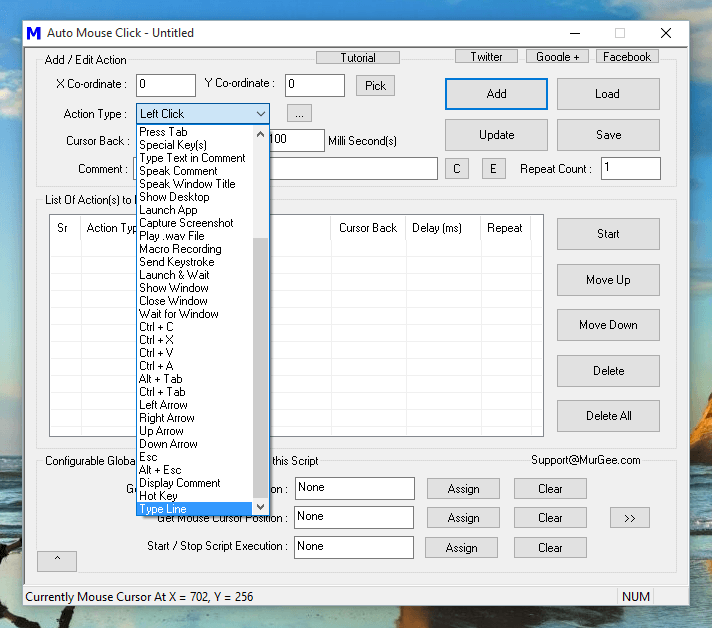
Apart from Fast Mouse Clicking, many times during the Game Play, you would need to press a single Keyboard key multiple times. Pressing a single Keyboard Key multiple times with configurable speed is now possible with above displayed Gaming Tool. Another Gaming Software designed for Direct X and browser based games is presented in the Auto Key Presser for Games post of this blog. Random Time Delay between consecutive Keys, Easy and intuitive configuration makes it a really powerful tool for handling Keystrokes when playing Games.
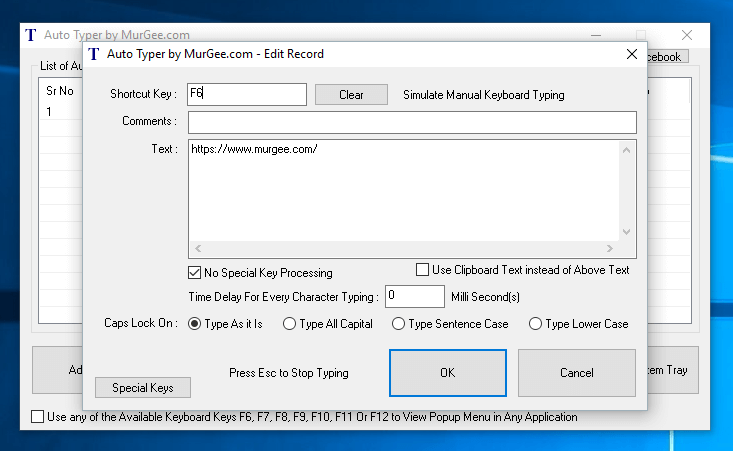
Auto Text Typer for Repetitive Text Typing in Games
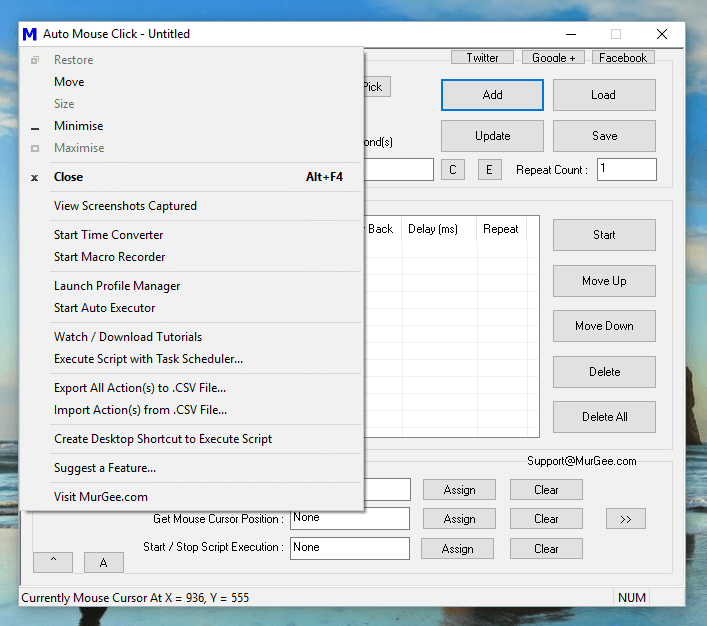
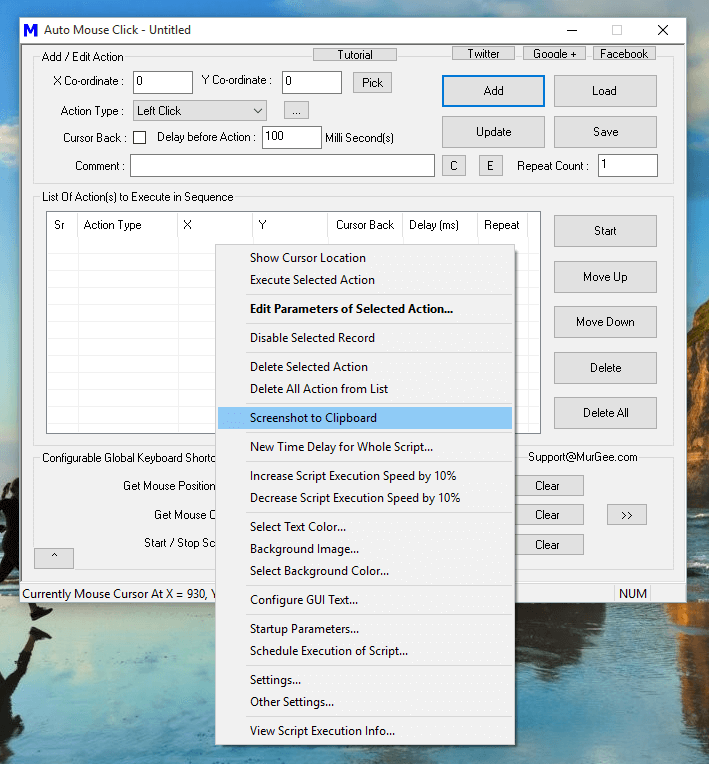
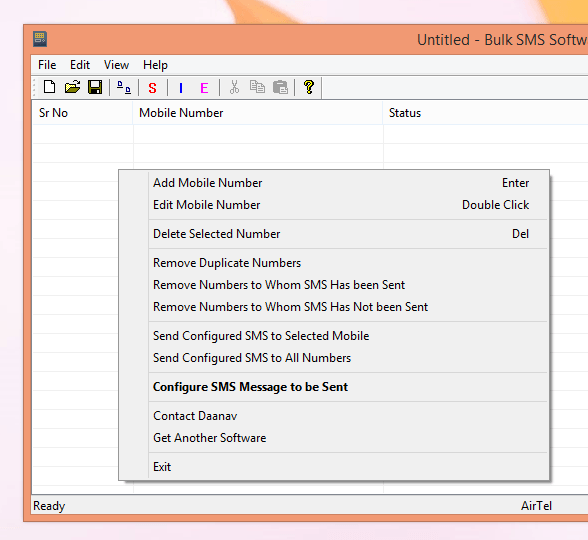
Typing Text Sentence from a keyboard requires hand and eye co-ordination and yes spelling mistakes can happen when you try to type faster. In case your Games requires you to type single or multiple Text Sentences lots of times and you need a way to Automate Text Typing in your Game, you can use the Auto Typer which is an easy to understand and use Keyboard Automation Software for Windows. With this Tool you can control the speed of Text Typing, avoid spelling and grammatical errors and overall speed up repetitive text typing.
Gaming Software Tools for Windows
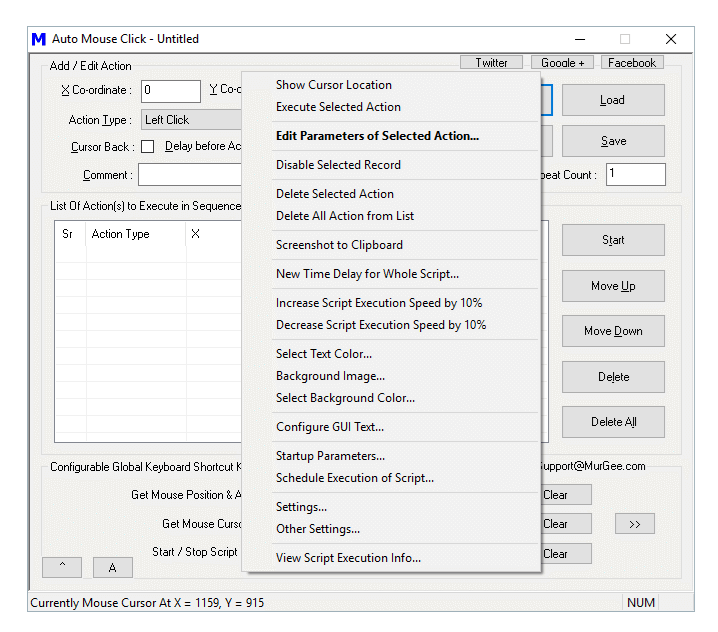
All the above mentioned Software Applications are available on a Free to Download and try basis. Minimal fees of $5.00 only is required in order to unlock the trial limitations of the software. Selection & Usage of Appropriate Gaming Tool from the above list of Gaming Software Applications can really help you explore the power of your Gaming PC. Computers were designed to do work faster than humans and building a gaming Computer requires lots of planing and money and now it is easy to unravel the power of your Gaming PC with any of the above mentioned Gaming Software Tools.